Round Peg In a Square Hole-crafts

Thursday, October 19, 2006

Update: Sock Wars and other things

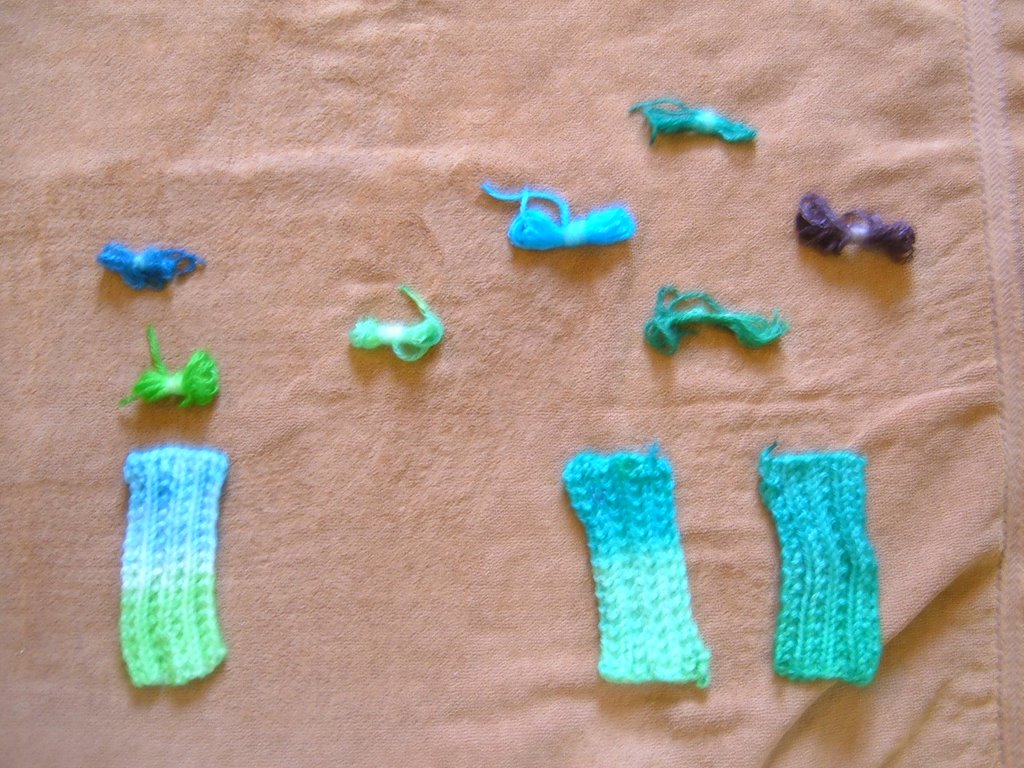
My assasin has officially been listed as dead (woo-hoo!) and has mailed off her SIP (the socks destined to kill me) to her assasin, who is about 3 people above her in the chain. That means I have a little time, as they have to get to her, she has to finish them, then they have to get to me. Since I mailed socks to my latest target on Monday, the same day she mailed socks to her target, and her target already has SIP from her victim, I have a chance to kill again before I die, assuming target's target doesn't finish the SIP today or tomorrow, and is good about getting the SIP in the mail to me. Otherwise, I'll have to wait until target's target's target's target dies and sends SIP to me, assuming she knows to do so. (She should; I imagine target's target will send my info with the socks.)

Confused yet? :-)

The other news is that I have FINALLY finished the cross-stitch for my mother! Hooray! Only a year in the making, it should have been done long ago, but I have this bad habit of stopping working on things if I miss the deadline. Ah, well, it's done now. Next step is to take it to the French Hand Laundry, to have it properly cleaned, then have it framed, so I can take it down to my mom's the next time we go--whenever that is.

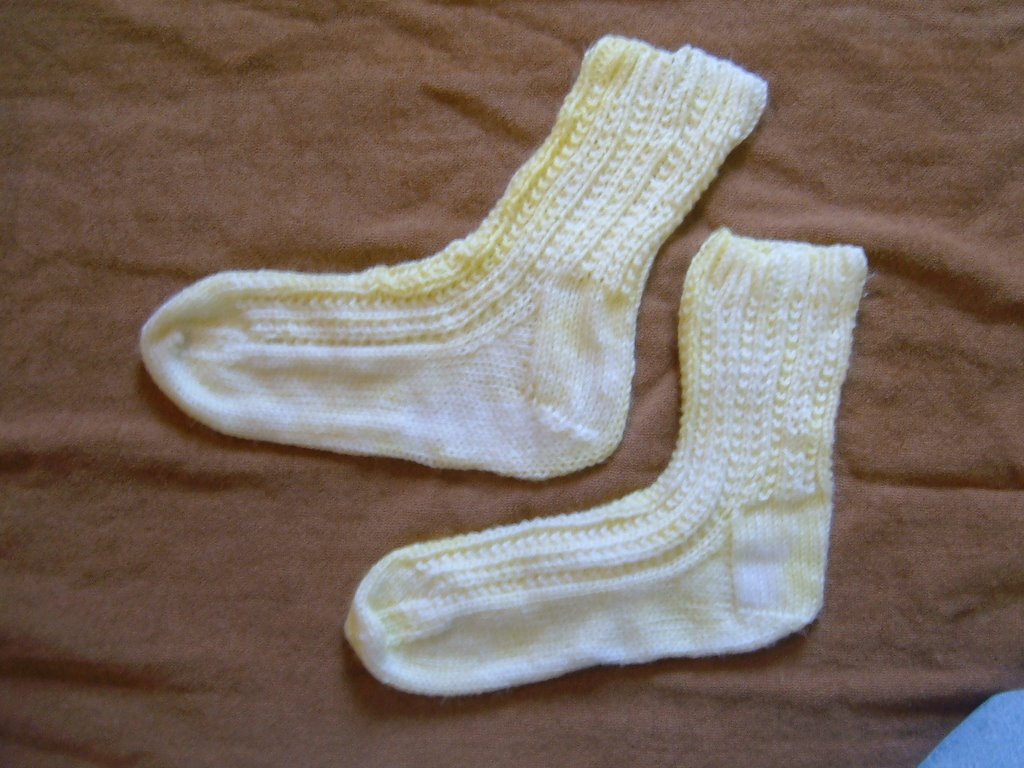
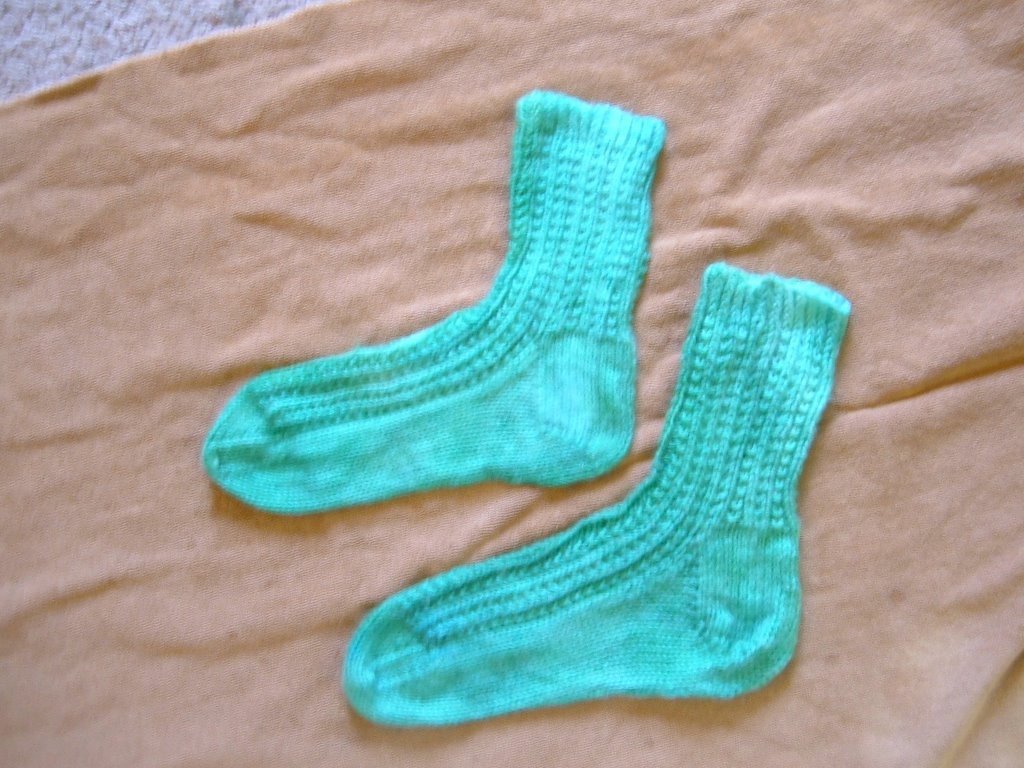
Think I might use the yarn I bought to make socks for myself to make socks for my mom, but haven't completely decided yet. And realized the yarn that I bought to make slippers for Kate's husband John for Christmas just won't do; haven't yet decided what to do about that, though.

Oh, and, from traffic on the parents' list from Sam's school, I have determined that, while they want the kids to make their own Halloween costumes, wearing ones you already have is fine, which is quite a relief, as the Halloween carnival is this Saturday. Whew!

Really need to get started on the "making the quilt" part of Sam's Princesses quilt. Finished stitching the Princesses months ago.....

Labels: , , ,

Frome the Archives: Lawn Camels

This is an article I wrote 12 or more years ago, when I used to visit the Estrella War as a guest of House Alkazar. I intended it for some SCA publication or other, but I never got around to submitting it. I found it this morning, going through some stuff, and thought the techniques described might be of use to some folks.

Those of you who went to the Estrella War may have noticed House Alkazar's new Lawn Camels. (For those who didn't see them, they consisted of two large figures cut from plywood: a standing camel (about 7+ feet at the top of the hump) and a kneeling one (about 4 feet high). As there seems to be a growing number of Middle Eastern personnas in the SCA, I thought I would share how I had built them, in case others were interested.

The Beasts were a 12th Night present for Sahar of House Alkazar. Since she lives in Sacramento and I live in Pasadena, the first constraint on them was that they fit in my Ford Escort hatchback. (I wasn't ABOUT to check them as baggage on a plane! Imagine filling out the claim slip if they were lost...) As my usual medium is textiles and I have little or no experience with wood, I enlisted the aid of a friend and her friend. They had power tools and the knowledge of how to use them, and were willing to teach me and keep me from cutting or sanding my fingers off.

We used 3/4" plywood in 4' x 10' pieces, about 2.5 of them, when all was said and done. The kneeling camel was made of a lower piece and an upper piece which were freehanded on the wood in pencil, then cut out with a jigsaw. The body of the standing one was a made similarly, with the legs added as two separate additional pieces. My tutor then puttied in flaws, uneven grain, and knots in the wood, afterwards sanding the surfaces and all the edges with an electric sander.

To assemble them, we used two 6" galvanized steel hinges per body to hold the top and bottom pieces of both camels together, and the standing one used another to hinge the back leg on. The front leg was attached with a smaller hinge, both because it was what we had, (this was done almost exclusively from stuff my friends had lying around) and because the shape of the piece might not have allowed a larger hinge to be used. We then marked straight lines which passed through the legs and through the higher portions of the body (the head and the hump--O.K., with one hump, they're technically dromedaries, but Lawn Camels is much more euphonious, plus it sounds less pretentious) and attached automobile hose clamps along this path: two on each leg and one per body section per pole, giving a total 8 for the standing one and 4 for the kneeling one. (Attaching the hose clamps was not as easy as it sounds. We finally managed to drill holes in the clamps by placing them on a wooden broom handle, then drilling through to the wood. And, to screw them in, a screwdriver with the head at a right angle to the shaft would have been helpful, as certain logistics made it unwise to completely undo the clamp to screw it in.) We then cut steel pipe into lengths corresponding to the straight lines we had drawn, plus about 2 feet. My tutor then sharpened one end of each pole (using a car body sander), making them into tube knives.

Finishing consisted of painting the bodies and faces in some detail, (including the hinges, to minimize their visibility) using exterior flat paint, and water sealing them twice. (Hey! I've been at Estrella quite a few times! Those puppies needed to be sealed TIGHT!) I then cut floppy leather ears and braided some rope into tails, attaching the ears with a staple gun and the tails with screws.

All of the actual construction could have been accomplished in one weekend. The paint, however, needed a full 24 hours to dry, and each coat of the sealant required two full days. So, overall, we're talking a little more than a week, total elapsed time, with much of that being drying time.

Once on site, all we needed to do to set them up, was to unfold the camel face down, slide the appropriate length pole through the hose clamps, stand the beast up, pound in the stakes, and tighten the hose clamps. (The idea was that you shouldn't need any tools more complex than a dime and a rock to set them up, although it is easier with a screw driver and a mallet or hammer.) We considered the direction of the wind before we placed them in our encampment, facing the head or tail directly into the wind, rather than letting it hiit them broadside. For foul weather, we may need to run guy wires from the poles to secure them, although they seemed fairly sturdy.

Problems: We didn't consider the thickness of the wood or the hose clamps when we decided to hinge them. This required the front leg on the standing camel to be hinged in the opposite direction from the back leg and the head-hump section. Not a problem during use, but it makes it large when folded and more awkward to store than I had wanted. You could solve this problem, partially, by hinging the legs one way and the hump the other way. However, you'd pretty much have to slip cover them, then, to keep the hinges from showing. (Aren't there also hinges where the pins are made to be removable? That would solve the problem entirely.)

Other considerations: make sure that the hose clamps you buy are only just big enough for the poles that you're going to use. Part of our difficulty in attaching the hose clamps was due to them being too big. Also, when first drawing your designs, you might want to do it on a large piece of paper, or scale it up from graph paper. I free-handed each piece separately and, even though the pieces matched up, I ended up with something that looked as if it had been shot in Cinemascope and was being shown with the wrong lens--that is, the horizontal and vertical scales didn't match.

In any case, I think that these techniques would be useful for lots of different applications. How about Lawn Elephants? Or a facade or gateway for your campstie? Or a tower with a light in the window to guide you home at night? The possibilities are endless.......

Labels:

Tuesday, October 17, 2006

Sock Wars! Round 3 and Dying with KoolAid


O.K., I finished the socks Thursday or Friday, then dyed them over the weekend. Let me just say, for starters, that dying with KoolAid is quite easy....if you want a shade of red or orange, or even purple. Blue and green are HARD! Partly, this is because the available blue is kind of turquoise-y or robin's-egg-ish, not a true blue, and partly because it is virtually impossible to find GREEN KoolAid. The one packaged drink mix I found in limeade-flavor was made with natural flavors and colors--THAT'S not going to do me any good! I need artificial! I need chemicals! I need things-not-found-in-nature (besides the blue)!

Anyway, I set up a bunch of cups with water in them, three knitted swatches (I wanted to test the advice of another Sock Warrior, who said the socks don't "wick" very well--and she was right), and several little bobbins of yarn, along with all the packages of KoolAid I had bought. My aim was to get a true green and a true blue, with the intersection of the colors being some combo of the two. Tested the straight blue (bobbin in the middle) and yellow first: yellow was a little light, and the blue, as I said, wasn't a particularly true color. Putting the yellow-dyed bobbin into the blue, produced a green, (bobbin diagonally below and to the left of purple) but not very intense, or true. Tried dying part of a swatch yellow, then putting the whole thing into the blue (middle swatch), which was O.K., but still not really the colors I was going for. Next, I added a little red to the blue, thinking to true it up a little, as well as darken it. WRONG! Got a lovely shade of purple (purple bobbin on right), but since I could have gotten that using straight grape KoolAid, and it wasn't the color I was going for, anyway, I considered that a failure. So next, I added a little orange to the blue. This came out MUCH better, a deeper blue, with greenish overtones. Putting this into the yellow gave a good color (bobbin diagonally above and the left of purple), though not very intense, and I was worried about running out of yellow and orange.

Next, I tried food coloring (blue and green bobbins on the left). The green was a little "grassy" for me, but the blue was much better, so I tried one of my swatches in those cups (far left swatch), with not too satisfactory results (may have needed more color?) Finally, I tried a hybrid of the yellow KoolAid and the blue food coloring, (bobbin in the middle, above and between two swatches) again getting a little "grassy" result, and not nearly dark enough.

So, in the end, I decided to go for straight green, since I couldn't get a good blue to shade into it. I washed the socks in Orvis, then dyed them with two packages of yellow in a shallow glass baking dish with about half and inch of water. Removed the socks, then dumped in two packages of blue and about 2/3 of a package of orange, then returned the socks, making sure to turn them several times to make sure both sides got dyed. Didn't seem like enough, so I added my tester-pot of yellow and the tester-pot of blue/orange. Was happy with that result, though I still wish I could have gotten it just a little bit darker. Ah, well; it was something I wanted to try, and I can see that you could have alot of fun with it--as long as you wanted to dye in the red realm.

Labels: , ,

Thursday, October 12, 2006

Odds and Ends

First, I finished the cap for the christening gown: profile, front, back
I think it's adorable, and it was cheap and fast to make, once I got the design figured out.

Second, finally heard from target #2 in Sock Wars! She said she sent her socks out right away and she has no idea why they aren't here yet. But she also said that she had only knitted about an inch of ribbing, so I'm not costing myself all that much work by not using her beginnings. Besides, I think I'll use her yarn for myself, as it sounds lovely: black shading into rose! How did she know what colors I normally wear to work out in? :-) So, I will finish with the white wool, and dye it with Kool-Aid, and I think honor will be satisfied and I will be able to kill again.....

Next, got the knitting needles that I prattled about ordering and they are JUST like the ones I have loved for years! Yeah! They're available again! I may replace all my DPs with these, at least in the sizes they come in. Woo-hoo! Good tools are an artisan's joy.

Now, I'm trying to decide whether to bust a gut trying to make a costume for my daughter for a wedding that we are attending this weekend (one of the last of the Sewing Circle Ladies who is still single). Guests are invited to wear historical costume, but Sam has grown out of all of her stuff (except the Viking stuff, and that's not particularly festive), and I had bought a Regency Girl's Dress pattern, which is pretty simple, and I have the fabric, but am not sure that I will have the time, especially when I have a half-finished pair of Socks of Doom staring at me. So, I cut the fabric for the slip this morning, and brought the fabric for the dress to work with me, so I can cut it at lunch. My friend Trina has a sewing machine in her office (don't ask) which I can probably borrow, so I can probably get a good bit of it done after work today, before I head off to my shrink. BUT, would it be better to use that time knitting SoD or rushing to finish the dress? I think I can get the dress with no frills done by the weekend, but I'm also unsure if kids are even invited; I was taking her as a default, as we had no one to sit her, and I'm not sure I am comfortable leaving her at the weekend-daycare place for as long as this will take (long drive to and from, wedding, reception, etc.) So, I'm conflicted.

Labels: , , ,

Tuesday, October 10, 2006

In the interum.....

...since I can't be knitting to kill someone, I finished up the christening gown for Chris and Christy's egglette-to-be. Understand that this is, as the one I made for my daughter was, a costume, not a ritual gown. That is, I don't think it will be used for a christening, but worn to various period events. As such, I can't think it sacreligious for a pagan to make it.

Anyway, finished the dress and slip, and have them in the mail. The cap was fighting with me, so it will go separately; I wanted to make sure the dress and slip made it to them in time for the shower this weekend.

First pic is an overall shot of the dress,
then a close-up of the front of the bodice (that's an egg motif in the center front, which is Christy's symbol; I thought it was a nice touch . Click on the pic to get a better look), then a close-up of the back of the bodice, with %$@#@! pleats, that never work right in this gossamer fabric. Lastly, we have an overall view of the slipand a close-up of the back of the slip, because I just love those tiny little heart buttons.

And, being both a mom and an anal soul, I made sure of several things: since most babies spend most of their time on their backs, the buttons are all flat, not shank, and those in the slip are offset from those in the dress, to minimize the lumps. The waist of the slip is below the waist of the dress, so the fullness comes in layers. None of the lace or fabric is scratchy or rough. Also, the gown is adjustable, to accomodate growing babies. And, lastly, it is washable; I washed Sam's in the machine, but it might last longer hand washed.

Labels: ,

Thursday, October 05, 2006

Sock Wars Update: STILL no socks-in-progress!

Harrumph! She has to have been dead for DAYS!!! She's only in San Francisco; I could have driven up there and back several times in the time I've been waiting! Gaaaagggghhhhh! I HATE waiting!

(What the hell am I going to do if I ever get a target outside the US? Have a coronary, it appears.....)

It's not as if I don't have other things to do. The cross-stitch for my mom (you know, for her 80th birthday that was in April of this year?) is oh-so-close to done, and I may have found a decent frame for it, so I could be working on that. And the christening gown is started, and has to be in the mail by the middle of next week to make it to the shower, so I NEED to be working on that. And I have stockings for Kate that are on the home stretch, and one more pair of mitts for the one of the Sewing Circle Ladies, AND started the shawl for me that I bought yarn for earlier this year, so I have several knitting projects that I could be working on, if I must knit.

But what I really want to do is kill someone! :-)

Labels: ,